Before:
After:
As you may recall, the mounts the gimbal comes with are designed to bolt right onto the DJI Phantom series. The difference in body design mean that the mounting plae is far too wide to use directly on the CX20. there are some ways to do some major cutting and grinding to fit it. This still would have also blocked access to the plug ports on the bottom. Our first 'quick and dirty' installation was fast but had a lot of it's own compromises. Including extending the height of the landing skids.
The CX20 mounting plates are far narrower and while good for clearance, it is not wide enough to allow the gimbal controller board to mount in the same manner.
to move everything forward and keep an unobstructed camera viewing angle, clear of the landing legs, the arms and the props, We wanted to keep the same forward mounted position. so we will be using the rear pair of mounting holes.
The gimbal mount uses larger grommets so they will have to be drilled out, and the gimbal used 2 machine screws that need to be drilled. the mounting holes are ever so slightly too small so a quick drill out on them is important too.
Grommet holes = 8.25mm (21/64")
Gimbal screw mount holes = 2mm (7/64")
Note: use the same 2mm to 'chase' out the stock screw holes near the 2 you just drilled.
Make sure you clean up the sharp edges after drilling or the grommets will have a very short life.
I hope you marked the wires and mounting position of everything.
Attach the grommets in the rear holes of the upper plate and i like to also insert a zip tie loosely through the grommet as insurance. Double sized tape on the front of the belly to help keep things sturdy. If I was planning on opening up the belly of the beast, I would put a bolt through from the inside.
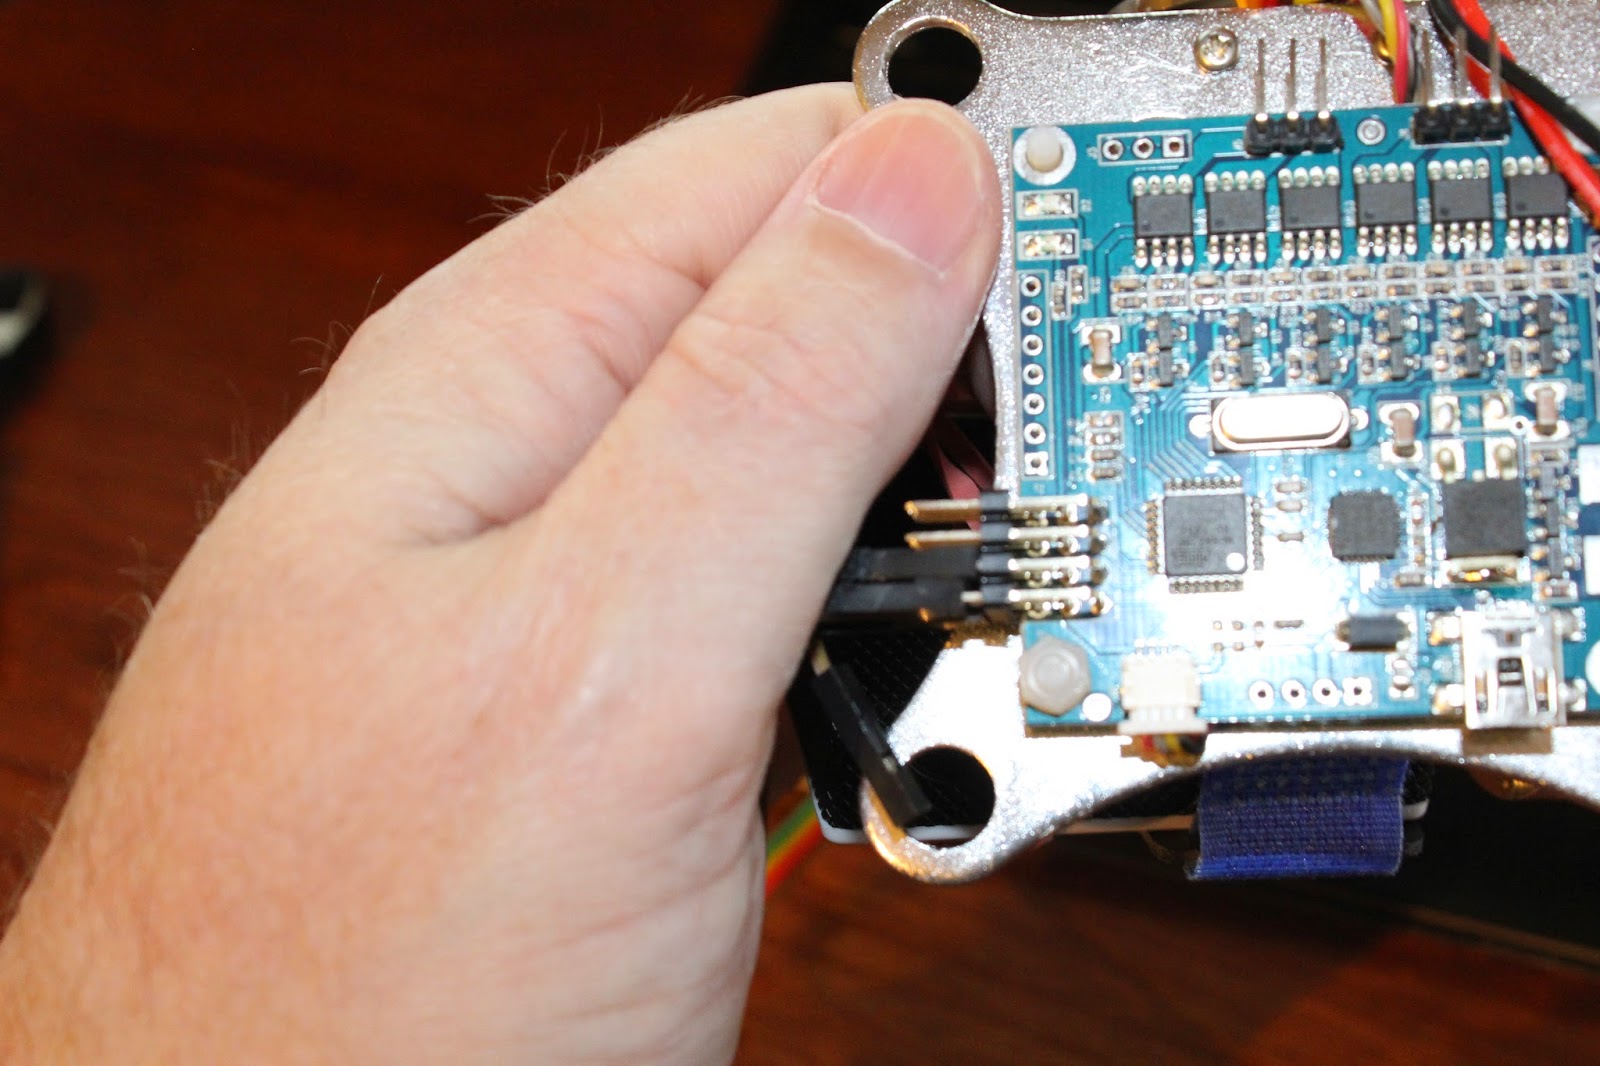
I attached the control board under the lower plate, just some double sided tape. I tried to use a minimal amount. Securing the board from vibration and from rubbing the metal plates is important, and not preventing any of the small electronic parts for getting the cooling air it likes is the trick.
2 small zip ties keep it from going astray.
...backup support from a long zip tie around the board and the plate never hurts.
Making sure that the rear two grommets are already mounted will make the task of attaching a little less frustrating, but it is a challenge no matter what.
very loosely start the zip tie that goes through the grommet. DO NOT TIGHTEN !!!! or you will remove the whole point of the antivibration grommets. The whole reason for these is in case a grommet fails, you will still have your camera come home with the drone.
And here we have the completed installation, a bit lighter (not a lot) and no need for the extension of the landing gear (more weight and bulk saved).
I strongly suggest some protective wrapping of the gimbal sensors (the tiny circuit board under the gimbal just to the right of the blue velcro strap) this is a quite vulnerable position. I would have preferred that the gimbal bracket camera holder be above and the sensor there instead.
Results:
Ok, looks wise and clearance wise you can see for yourself.
Performance wise: a notable difference. I will have to retest with the flights times, but it react much nicer and seems a lot less encumbered. I would say it's somewhere in between the previous mount (heavily encumbered) and the basic fixed mount (moderately encumbered). it was certainly not the spritely CX20 that we all know and love, but it has some of it's 'oomph' back.
To the point where stripping this thing off is no longer something I 'HAVE TO DO'.
.....Now as to the performance: You may recall the last batch of figures, I will repeat and tell you that this helped a LOT!
2700Mah stock battery:
Clean: 15 minutes
Fixed Camera: 12 minutes
Gimbal & Camera: 7 minutes.
Redone gimbal: 9:05 minutes
3200Mah Battery:
Clean: 17 minutes
Fixed Camera: 14:15
Gimbal & Camera: 10 minutes.
Redone gimbal: 10:55 minutes
That is a 2 minute gain !
Now as to the performance and handling:
Clean: Very responsive. quite nimble. less than half throttle and it's still climbing.
Fixed Camera: a slight bit less sporty but still very active. about half throttle to climb
Gimbal & Camera: noticeably more sedate. Much less responsive. 60%+ throttle to hover.
Redone gimbal: Performance although obviously feeling encumbered, is not feeling like it is near it's limit. a lot of the handling has returned so some extent.
Additional Note:
One observation I have is that the SJ4000 camera uses a micro USB connection instad of a Mini USB like the GoPro cameras do. The location of the camera on the gimbal make it difficult to connect this camera for live video feed or FPV without a big of fiddling around. Had the USB connector been on the other side of the camera, or the pitch motor been on the other side, things would have been a lot simpler.


No comments:
Post a Comment
Please keep it clean. you are welcome to comment, Add and even post a different point of view.